Advertisement

We need your help now

Support from readers like you keeps The Journal open.

You are visiting us because we have something you value. Independent, unbiased news that tells the truth. Advertising revenue goes some way to support our mission, but this year it has not been enough.

If you've seen value in our reporting, please contribute what you can, so we can continue to produce accurate and meaningful journalism. For everyone who needs it.
Shutterstock/Rawpixel.com
masterclass

Paint prep masterclass: Everything you need before you start on a room

Laura de Barra shares her essential shopping list for the DIY store.

Laura de Barra regularly brings her lifestyle and home maintenance masterclasses to the Glenveagh Home Magazine on TheJournal.ie. This week: They say painting is all in the prep… so what’s in the prep?

YOU MIGHT BE considering a fresh coat of paint this weekend to freshen up you home. To avoid multiple trips to and from your local DIY store, here are my must-haves to ensure one successful swoop.

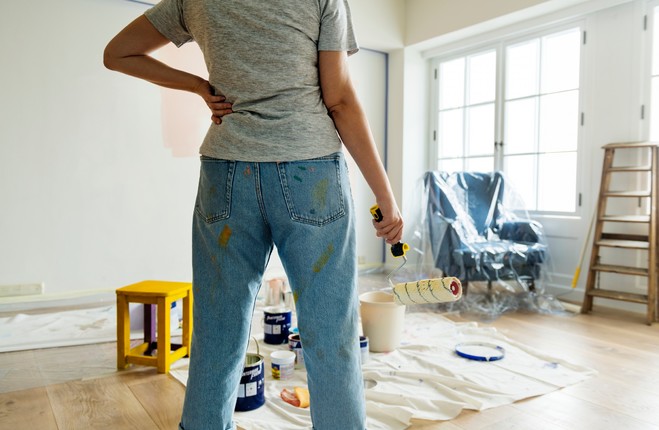
Dust cloths, furniture covers or old bedsheets: Before you begin you will need to cover anything you don’t want to get paint on that can’t be removed from the room. If you are painting the ceiling make sure you cover EVERYTHING. Old bed sheets, dust sheets or even old curtains are ideal to use here. If you fail to prep this part well, you will regret it later so do this before anything else.

Old clothes (and maybe a hat or headscarf): No matter how neat you intend to be, it is always best to wear old clothes when painting. If you are painting a ceiling consider your hair by wearing a headscarf or hat. Some oil-based paints can be a nightmare to get out of clothing and hair so tie your hair back and make sure your clothing is fitted or tucked in.

shutterstock_1437595466 (1) Shutterstock / Steve Cukrov Shutterstock / Steve Cukrov / Steve Cukrov

Step ladder: This will be needed for every stage from taping to cutting in to painting so make sure that you have one organised to avoid doing anything you shouldn’t! Always take extra steps to keep yourself safe.

Hammer, pliers, screwdriver: Next you’ll need to remove anything currently in the wall that will not be staying. Picture hangers, TV stands, nails or screws.

Filler and filling knife: Any holes, cracks or dents can be filled in days before you plan to paint. It’s a great way to foresee any issues as you’ll be going over the whole room when you’re assessing it for repairs. A quick setting filler is the easiest to use and if you don’t have a filling knife, an old points card is grand for smaller holes.

Sandpaper and glasses: Fine sandpaper is best for sanding filler rather than something coarse. I also prefer to use a sanding block. Always wear glasses when sanding anything.

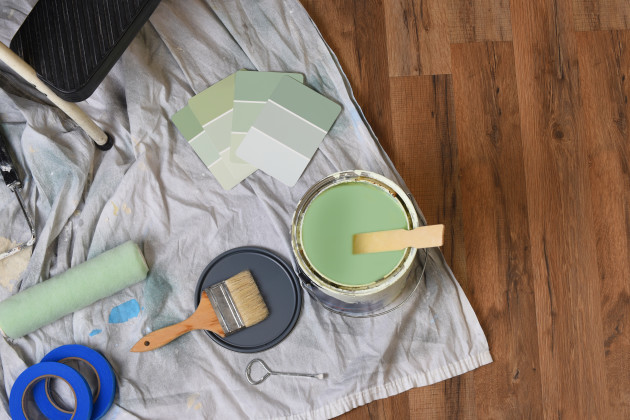
Paint: After you have chosen a colour, you will need to choose how much you need. The best way to figure this out is to use an online paint calculator. Just make sure you go for one that includes coats.

They usually have an option to subtract door and window dimensions, but I personally don’t use this as I like to have some spare paint for any mistakes while painting or touch-ups later.

Tape: You’ll need to prep your room by taping off things like windows, doors, sockets and so on. This will speed up the painting time and give you stunning clean lines.

There are different types of tapes on offer and many opt for masking tape. I prefer a ‘painters’ tape as this will decrease the chances of bleed or removal of paint underneath. You’ll have your room dimensions from your paint prep so you’ll be able to work out how many metres of tape you will need from this too.

Brushes: I would always have a medium and small brush if painting a room. The medium I use to ‘cut in’, and I always find I need to use the small for hard to reach places.

An extension pole can make large wall areas much more accessible Shutterstock / Yellowj Shutterstock / Yellowj / Yellowj

Paint roller and tray: These girls will make light work of painting any room. They are designed to speed up the painting of large, flat surfaces so are ideal for walls.

Just make sure you go for the right size, nap and texture. Different paints will need different types of rollers and if you wall is textured, remember it needs a longer nap. Anyone at your local store will be able to direct you to the right rollers for your job.

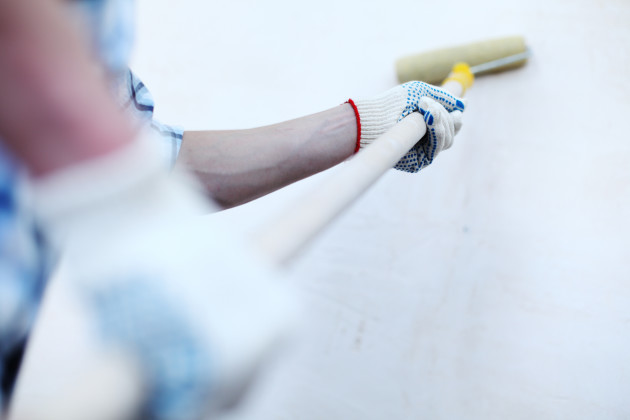
If there are a lot of high walls to paint, consider an extension pole. Walls are best painted top to bottom in one go, rather than in patches, so being able to reach is key. Most roller handles are hollow to allow for an extension to be added.

Always, always make sure your roller fits your tray before you leave the store!

Paint can opener: You can buy a tool designed to do this, but I will usually use a flat head screwdriver. Always be gentle so that you don’t deform the can lid, making it harder to go back on. I always wipe the screwdriver clean right away to avoid the paint setting on it.

Paint stirrer: Again, you can buy a tool specifically designed for stirring paint or a drill attachment. Paint will separate no matter what so will always need a good stir so, stirring tools are worth buying. If you keep them well as they will last forever and are super useful if you have just moved in and will be painting a lot. If you can’t get your hands on one, you could use an old plastic hanger but it will take a bit more effort to get the same effect.

Rags or cloths and white spirit: Always so handy to have these girls to hand just in case anything goes wrong and for cleaning up at the end of the day.

Podcasts or music: I promise you, painting can feel really dull without the right background noise. It can be the perfect time to listen to an audiobook or podcast. Have some downloaded before you begin.

Want more tips and hacks? Laura de Barra’s debut book, Gaff Goddess: Simple Tips And Tricks To Help You Run Your Home is on shelves now, published by Transworld Ireland. Buy it here or in all good bookshops, and follow Laura on Instagram for even more cleaning and lifestyle tips. 

More: Faded, cracked or plain ugly? 4 ways to change up kitchen tiles without buying new ones>

Your Voice
Readers Comments
This is YOUR comments community. Stay civil, stay constructive, stay on topic. Please familiarise yourself with our comments policy here before taking part.
Leave a Comment
    Submit a report
    Please help us understand how this comment violates our community guidelines.
    Thank you for the feedback
    Your feedback has been sent to our team for review.

    Leave a commentcancel