Sign in. It’s quick, free and it’s up to you.
An account is an optional way to support the work we do. Find out more.
Sign in. It’s quick, free and it’s up to you.
An account is an optional way to support the work we do. Find out more.
WHETHER YOU PREFER to make your bed as soon as you hop out of it, or spruce up the covers as part of your bedtime routine, there’s nothing like a well-made bed to set you up for a restful night.
You want your bed to be a welcoming haven after a long day, so creating a gorgeous, cosy nest is a worthwhile skill to practice. How can you get your bed looking amazing and stylishly dressed every time?
These five simple steps – and a little practice on those hospital corners – will help you make up a bed that looks so good you can’t wait to crawl right back in.
Step 1: Start from the bottom and work your way up
When dressing your bed, work from the bottom up and take the time to smooth wrinkles out of each layer as you go. Start with a mattress protector, then a fitted or flat base sheet, then a flat sheet if you like something between you and the top layer, followed by your duvet or bedspread, and lastly your pillows. Make sure that all your covers fit correctly – if you’ve got a double duvet inside a king size cover it’s going to be more difficult to get a neat finish.
Step 2: Ironing and starch are optional
I sometimes iron pillow cases, but rarely the sheets and covers (because life is too short), but if I really want a perfect finish, I dress the bed, then spritz the sheets or duvet covers with water, and iron on a low heat on the bed.

Step 3: Practice your perfect hospital corners
When it comes to hospital corners, it’s simply a case of practice makes perfect. There are loads of instructions and videos online to teach you how to do it. Practice with a flat sheet. It’s easier to work with a thin layer when you’re trying to get the crease right, but it will be more challenging to get it nice and tight. If you can master hospital corners with a sheet, then thicker layers will be a breeze. A good styling tip for hospital corners is to have the fold running along the side of the bed that doesn’t face out. That way any imperfect tucking won’t be quite so obvious to you or any potential guests.
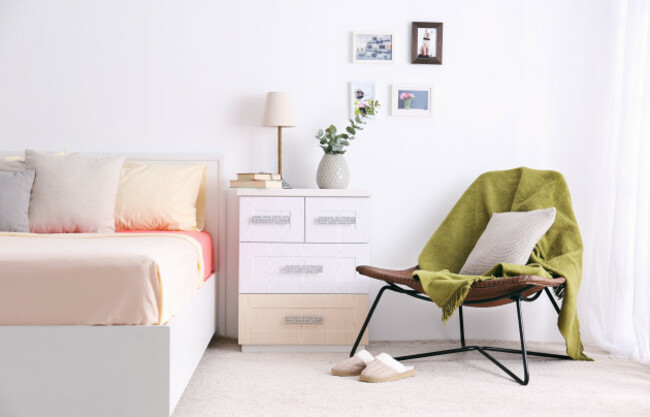
Step 4: Focus on styling your top layer
For the part of your bed that’s on display, focus your effort on styling. You can go for a minimalist look with solid, neutral colours and a tightly tucked duvet, or keep it fresh and simple with light colours, simple patterns, and one or two layers. When styling your top layer, experiment with different finishes; you could tuck your duvet under your pillows, or roll the top over a few inches like a bolster. If you have a patterned sheet, fold the duvet in half to the foot of the bed to show it off.
Step 5: Finally, add piles of pillows
When adding the final touches with pillows, there are two rules of thumb – either go for symmetry, or stick with odd numbers and a mix of textures. Symmetry works well on a double bed; think paired pillows, matching cushions, and a long bolster, all complimented with a throw at the foot of the bed. For a more casual style, a mixture of cushions, pillows and throws in different shapes and textures looks great, and an odd number is generally a more pleasing arrangement.
When it comes to choosing and maintaining sheets, keep in mind that starting with quality sheets will only make your perfectly made bed more luxurious. Line-drying your sheets is the best, fastest, and most environmentally-friendly way to dry your sheets, and will keep them odour- and stain-free longer.
With all that said, there are no hard and fast rules when it comes to bed making – your bed is your most personal space so you can let your individuality show!
Follow Gráinne @parsekus on Instagram for more home hacks and décor inspiration.

To embed this post, copy the code below on your site






have your say