Sign in. It’s quick, free and it’s up to you.
An account is an optional way to support the work we do. Find out more.
Sign in. It’s quick, free and it’s up to you.
An account is an optional way to support the work we do. Find out more.

THE LATEST UPDATE to iOS brought a number of improvements to the formula, including one of the best parts of Apple’s software: Accessibility.
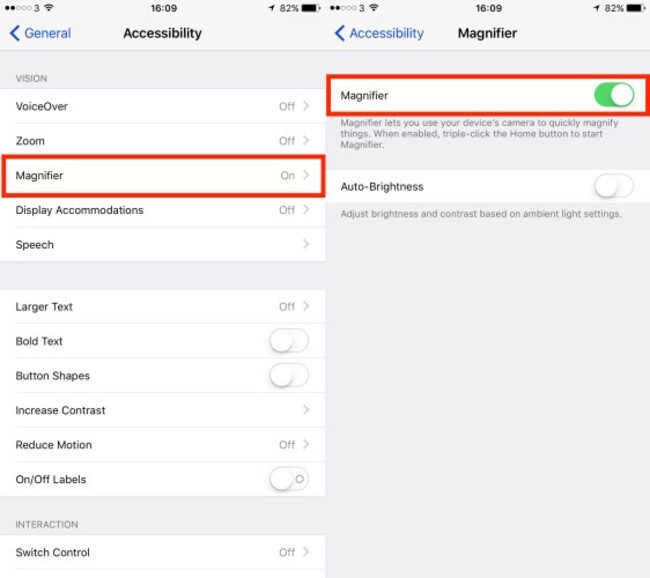
Alongside the usual options of reading out text and improving contrast, the latest version comes with a magnifier option which you can access in Accessibility.
To find it, go into Settings > General > Accessibility > Magnifier and turn it on. You also have the option of switching on auto-brightness too but it’s not necessary.
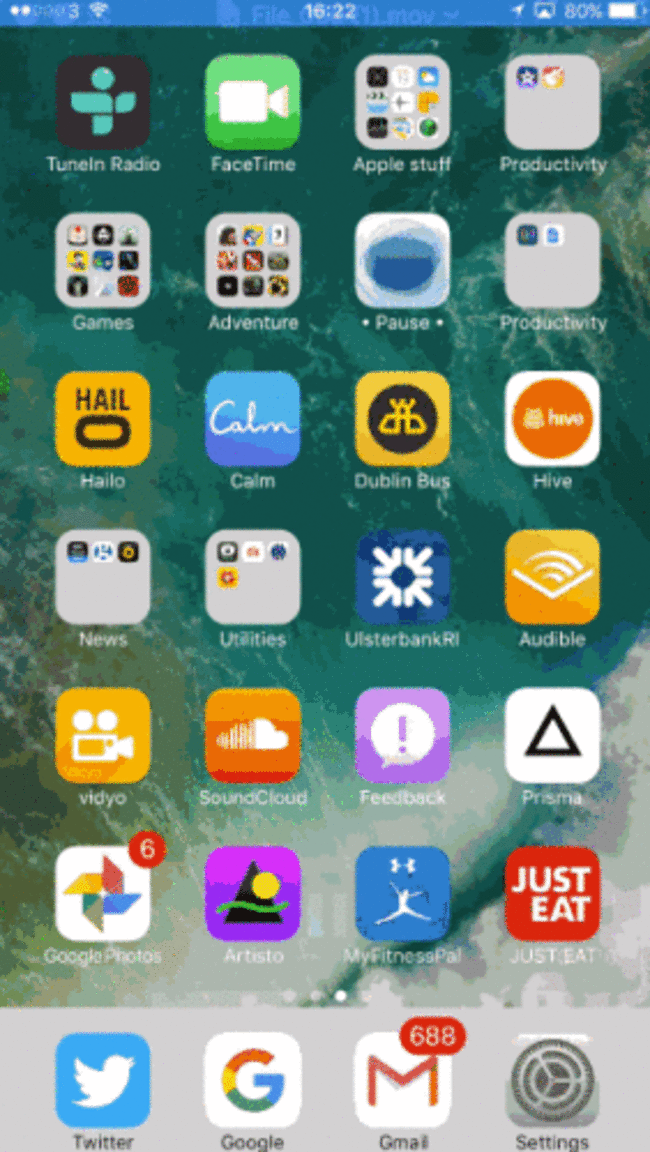
Once that’s done, triple-click the home button and you will see the magnifier option appear. Tap on it and you will go into a camera mode that’s zoomed in somewhat.
For those wondering why they couldn’t just use the camera instead, the answer is the different accessibility filters it uses.
While you can zoom in or out, you can adjust the brightness and contrast and use different filters which include white/blue, greyscale, and red/black. You can even invert the colours if you want.
And then there’s the shutter button which lets you avoid holding the phone for long periods. When you press it, you take a temporary photo of whatever is in front of you. From that you can move around or zoom out if necessary.

To embed this post, copy the code below on your site













have your say