Advertisement

We need your help now

Support from readers like you keeps The Journal open.

You are visiting us because we have something you value. Independent, unbiased news that tells the truth. Advertising revenue goes some way to support our mission, but this year it has not been enough.

If you've seen value in our reporting, please contribute what you can, so we can continue to produce accurate and meaningful journalism. For everyone who needs it.
Diane Bondareff/Invision for Nokia/AP Images
TechKnowHow

Want to take better smartphone photos? Stop relying on auto

If you take the time to learn about the different camera features, it can make a difference with photos.

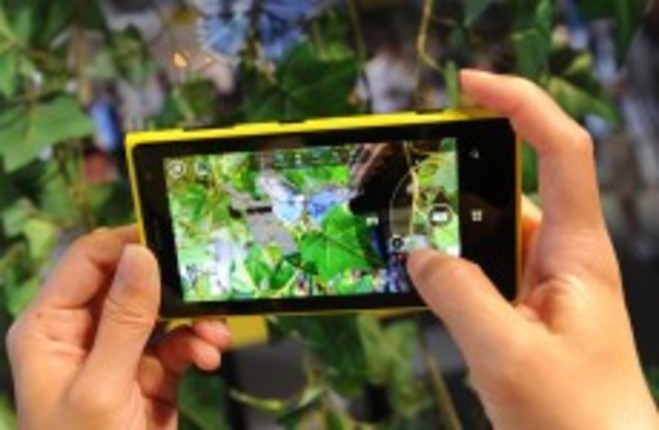
OUR SMARTPHONE CAMERAS are pretty advanced but for many of us, we tend to rely solely on auto to capture our shots.

While it works for the most part, getting to know the different features and the difference between taking good and great photos. It doesn’t take too long to learn.

Depending on the type of smartphone software you’re using, your options will vary somewhat, but there are basic features in place. Here are the main ones.

Grid - Superimposes a grid on your screen to help you take better photos. This is to help you with the rule of thirds which recommends you place the subject where the lines intersect. A good rule of thumb to have.

Flash - In theory, it’s used to brighten up low-light subjects but in reality, it adds a harsh light to photos you take. There are cases where it works, but for the most part, it’s better to turn it off completely as the auto-function can activate a little too often in certain cases.

Exposure - Adjusts the lighting of a photo before you take it. This is usually tied in with the focus feature which is done by tapping on the screen, but most cameras allow you to adjust it manually.

Timer – Mainly used for when you’re taking a selfie, allowing you time to get yourself in place. Other than that, its use is limited.

HDR - High Dynamic Range. The reason it takes longer to take a photo is because it’s actually taking three photos of varying brightness and stitching them together. It’s better to use this for landscape and low-light situations.

ISO – This adjusts the sensitivity to lighting in the photo. The higher the number, the more light it will take in. It’s better to adjust this for low-light situations than to use the flash on your camera, but by cranking it up, it also increases the level of noise a photo has so be sure to test it out before sticking to one level.

Zoom - Usually done by pinching the screen or using the volume buttons. Honestly, you’re best avoiding this entirely as digital zoom reduces the quality of the image.

Instead, get as close to the subject as possible, or if that isn’t achievable, then take the photo and crop it when editing. Either one will provide a better result.

Resolution - The higher it is, the sharper your image will be when you blow it up. This is more important if you’re deciding whether to email or message a photo.

A low-resolution photo would be better suited towards messaging as it’s small in size, but grainy when put up on a large screen, and vice versa.

Burst Mode - Takes numerous photos in one go. Any photo that has a moving subject is a prime candidate for this setting as numerous shots have a better chance of capturing it than one single photo.

While it’s handy to know these features, it’s good to know the basics of taking a good photo as all the tools and editing features in the world won’t disguise a bad shot. Also, don’t forget your phone can save numerous photos so don’t be afraid to take many with different settings.

Read: How to turn your smartphone photos from good to great >

Read:  These amazing images were all taken on smartphones or tablets >

Your Voice
Readers Comments
14
    Submit a report
    Please help us understand how this comment violates our community guidelines.
    Thank you for the feedback
    Your feedback has been sent to our team for review.